What to Draw and How to Draw It


Copyright, 1913, by E. G. Lutz
All rights reserved
Printed in U.S.A.

INSTRUCTIONS
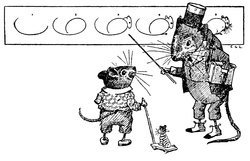
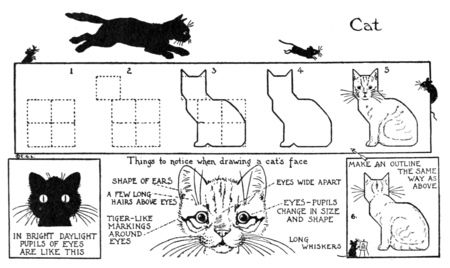
In drawing from this book, copy the last diagram, or finished picture, of the particular series before you.
The other diagrams—beginning with number one, then number two and so on—show how to go on with your drawing. They give the order in which to make the various strokes of the pencil that together form the completed picture. The dotted lines indicate where light lines are drawn that help in construction—that is; getting proportions correctly, outlining the general form, or making details in their proper places. Do not press hard on the pencil in making these construction lines, then they can be erased afterwards.
Use pencil compasses for the circles, or mark them off with buttons or disks. 


DRAWING OVALS AND ELLIPSES
Take note, first of all, of the difference between an ellipse and an oval.
The large plate explains the construction of an ellipse. It shows how to find the points where the three pins are placed that determine the size of the looped string. Be sure and make measurements accurately. Use a string that will not give, cotton thread is good for small ellipses, silk is too elastic. A suggestion to amateur gardeners: make elliptical flower beds this way.
The caution in regard to accuracy also applies to the making of the oval.


SUGGESTIONS FOR WATER-COLOR PAINTING

Here is a good list of colors for practical work. The first eight are enough for every purpose; but add, if you wish, purple and orange. Moist colors in pans are best. There are many different kinds of red, green, blue and brown paints; and as you may be puzzled and not know what to get, the names of the best hues of these particular colors are also given. The most useful paints in this list are yellow ochre, light red, Vandyke brown and Payne’s gray. Learn to work with them, use them often and see the beautiful effects they produce. Delicate tints are made with thin washes of yellow ochre and light red. Vandyke brown makes a variety of pleasing tints.
Use the bright colors sparingly.
You do not need a black paint. Payne's gray with either brown, blue, crimson or green gives rich dark tones. Payne’s gray is also useful in shadows and shading other colors. For the different kinds of greens, mix yellow ochre, blue or brown with Hooker’s green. Use thin washes of light red and blue for the gray of distances and clouds. 


